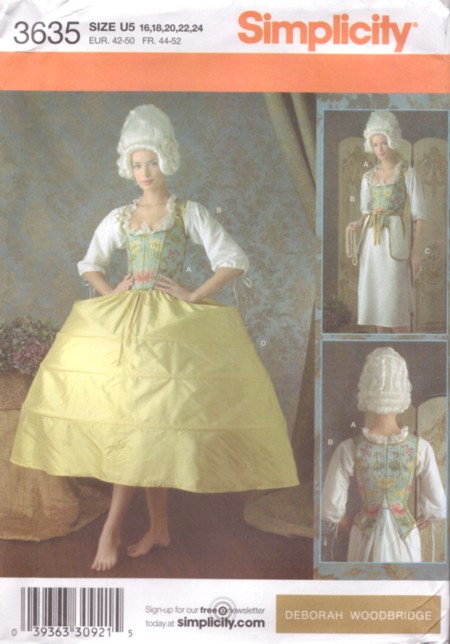
First off, we needed to decide on a pattern. We found two easily accessible 18th century Stays Patterns - one by Butterick, one by Simplicity.
We finally decided on the Simplicity pattern.
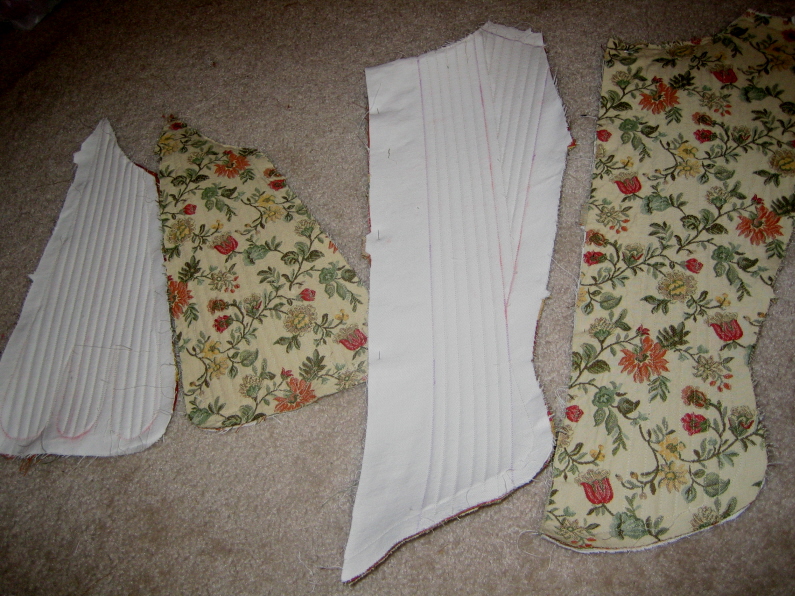
For fabric, we found a floral tapestry for the outside fabric and a very soft egyptian cotton for the inside fabric. For the "Interfacing", we picked up a sturdy white denim.
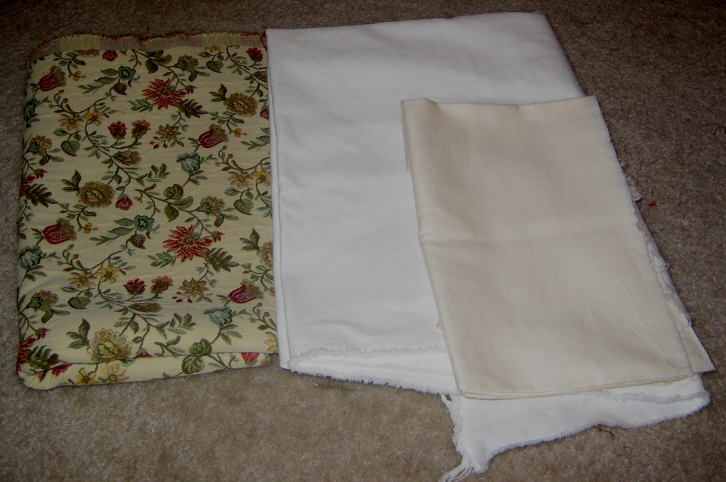
All fabric was pre-washed and ironed.
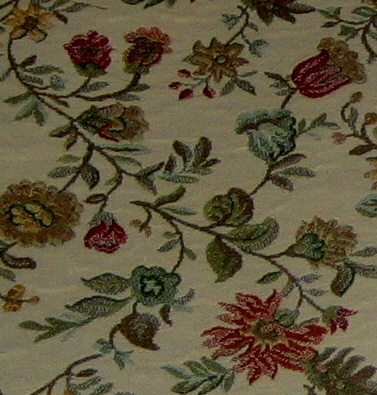
Here's a close-up of the top fabric.
Next, I cut out a mock-up based on my current measurements.
That mock-up was HUGE! So, I cut out a second mock-up...one size smaller...
That one seemed to work.
(This is why you should always make a mock-up!)
;-)
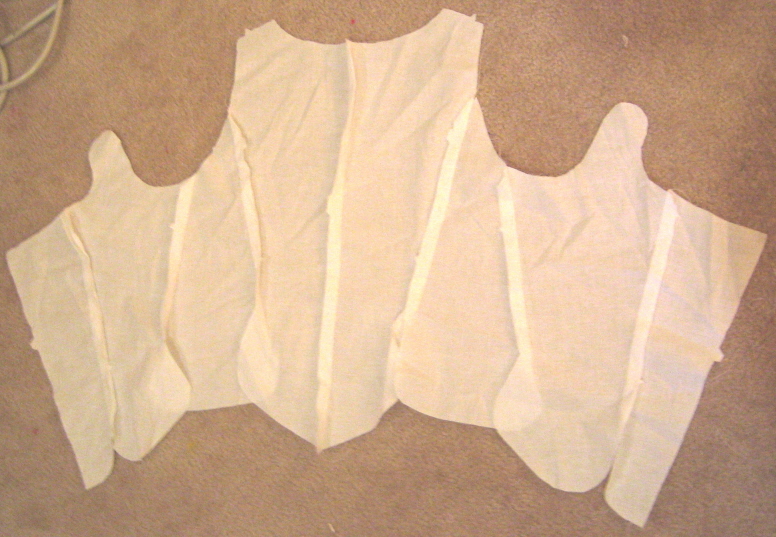
So, I cut out all of my pieces - Top, Interfacing, and Lining.
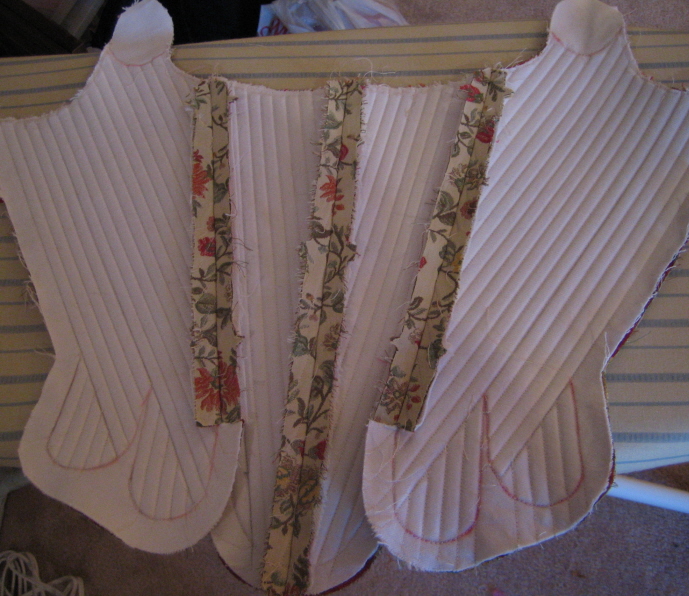
Next, I basted my top fabric and interfacing together and started sewing my boning channels.
Note: it's important to follow their instructions on these or you'll end up sewing up places where you're supposed to be putting boning. I had to remove some stitches because of not following the instruction...Oooopsie!
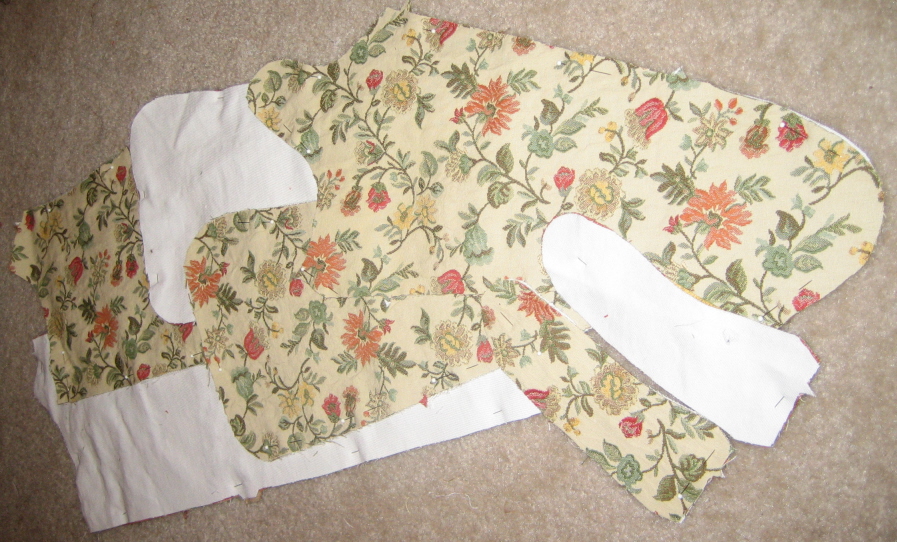
After getting all of my plastic boning in place, I sewed all of my outside pieces together.
(Is that not the loveliest ironing board cover you've ever seen...)
;-)
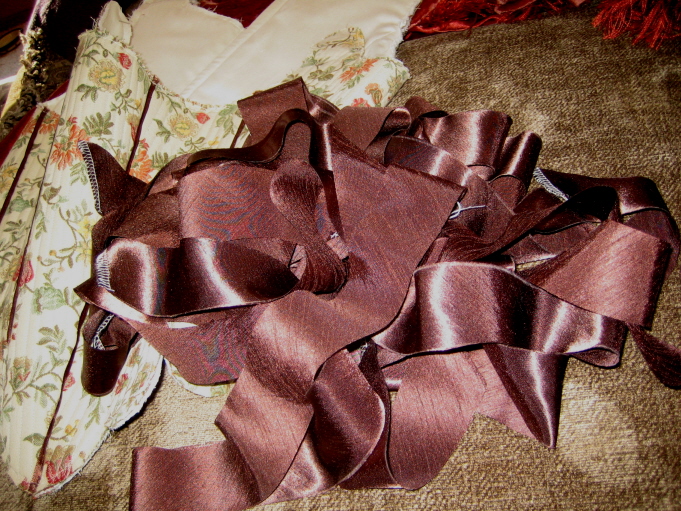
Next, it was time to hand sew on the ribbon and cut out the tabs, per the instructions.

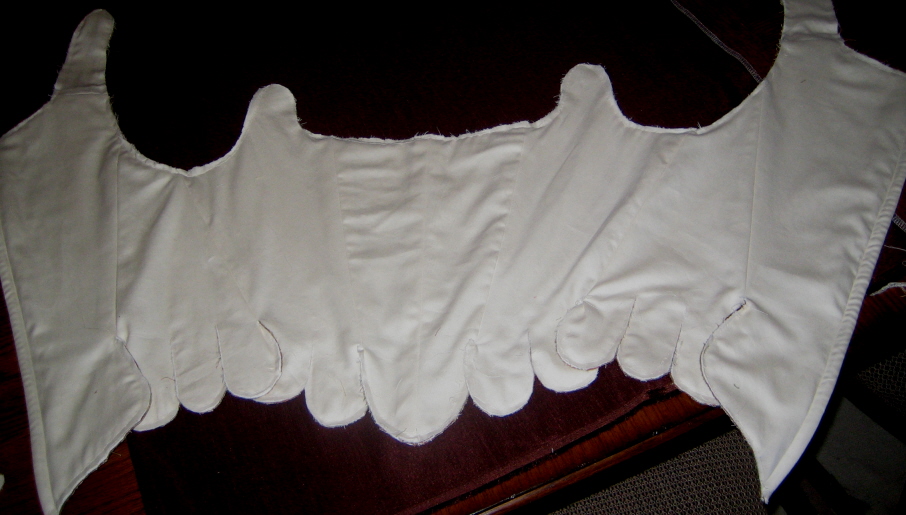
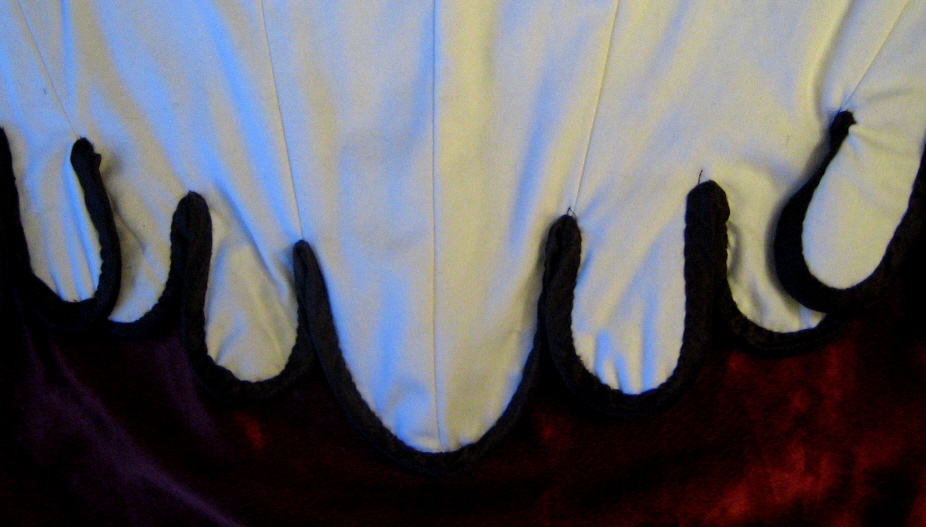
Next came the lining.
I first sewed all lining pieces together and then attached it to the front pieces, again, per the instructions.
Note: I ended up cutting a double layer of lining, because the thin cotton fabric we chose was a bit transparent.
Next I hand cut some bias tape out of a faux shantung silk fabric. The pattern has some crazy instructions on making bias tape...I just cut long diagonal strips of my fabric using a yard stick and tailor's chalk. After cutting the strips, I sewed them together to form one long tape...
Using my sewing machine (as best I could), I sewed the strips of bias tape to the front of the corset and then handsewed the tape to the inside.
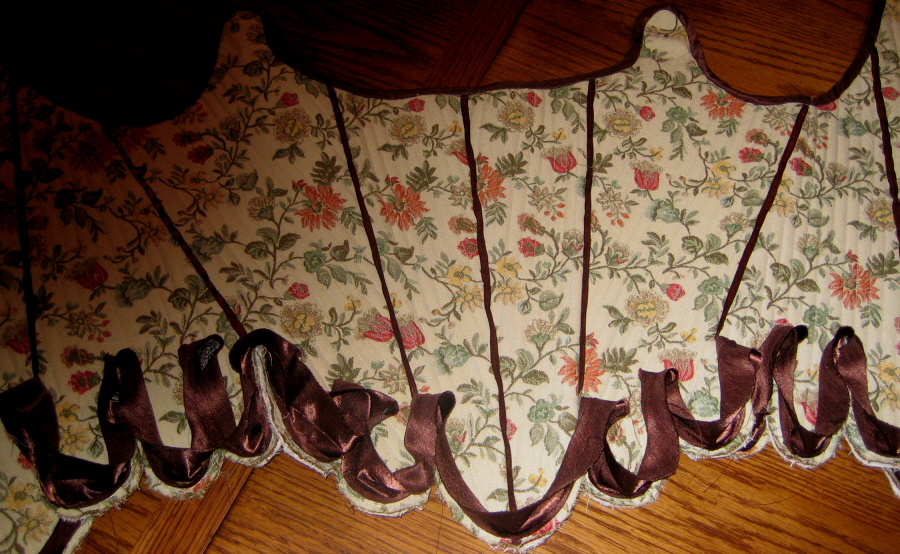
I was not able to get to the tab corners with my sewing machine, so all corners had to be sewn by hand.
To form the corners, I made cone shapes with my finger and hand sewed the edges down. This was a HUGE pain in the butt!! I decided that tabs suck!
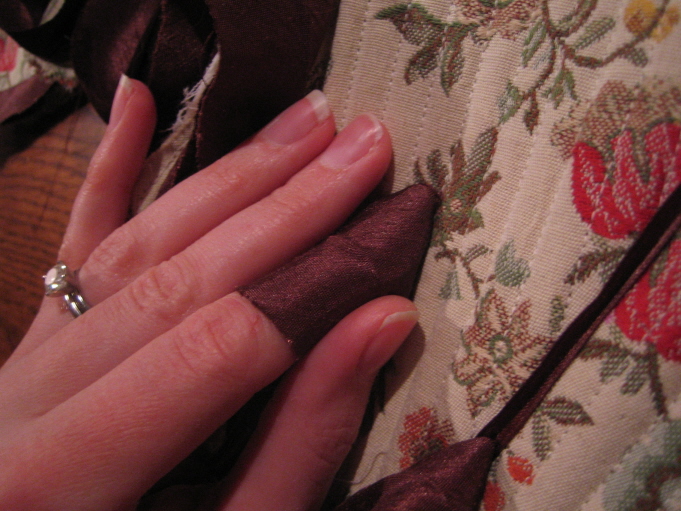
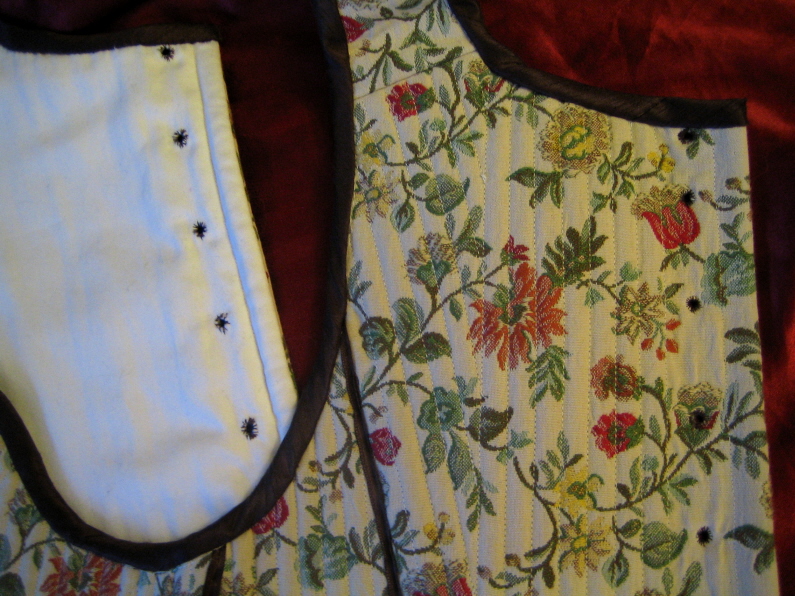
Here's the completed tabs. Did I mention that they were a HUGE pain?
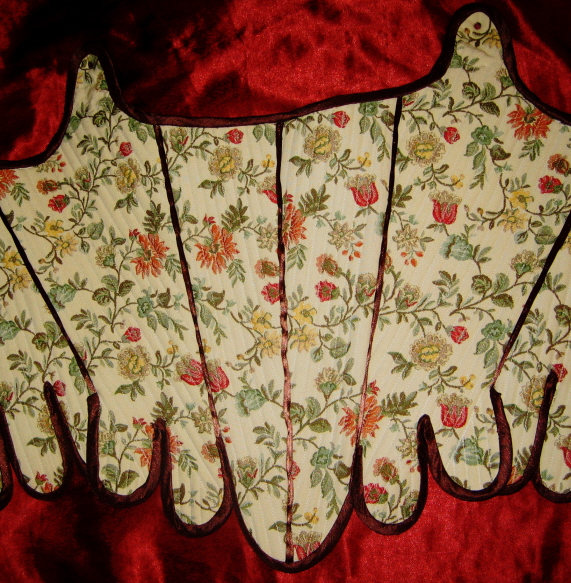
Here's the inside tabs.
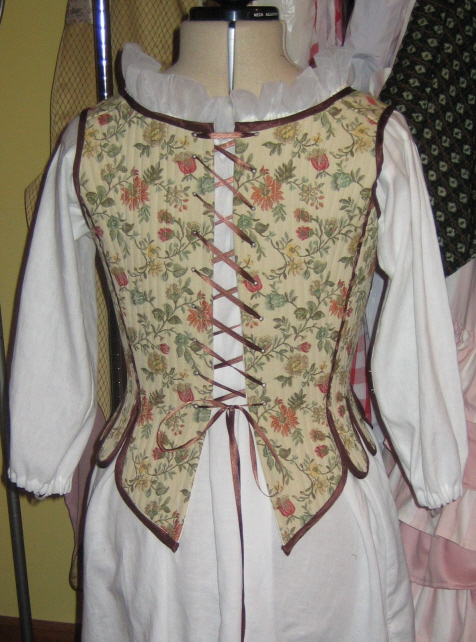
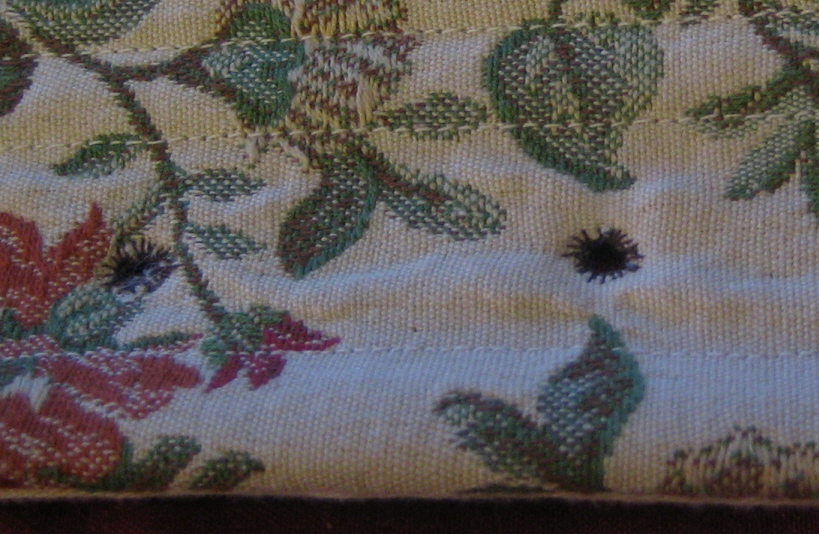
And lastly, came the eyelets. Because I like to torture myself, I decided to go authentic and hand sew eyelets instead of using metal eyelets, which didn't get invented until the 19th century.
Talk about a glutton for punishment.
Here's a detailed photo.
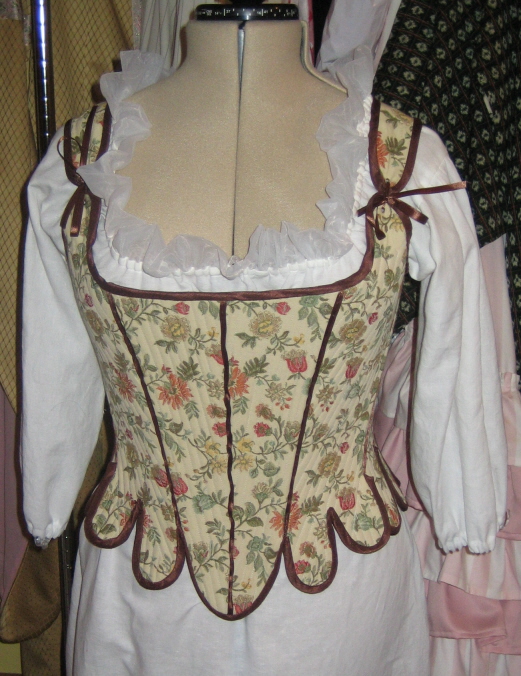
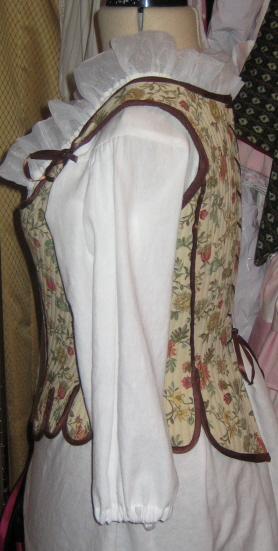
And now I'm done!
Here are the finished photos. I start on my pocket hoops next!