Our first decision was which type of foundation. Fashion in the mid to late 18th century went from the large and outragious panniers, to the smaller and still pretty crazy Pocket Hoops, to the smaller and more compact bumroll.
The period we're going for is late 18th century which could be pocket hoops or bumroll. We've decided to go with pocket hoops, since they are way cooler...
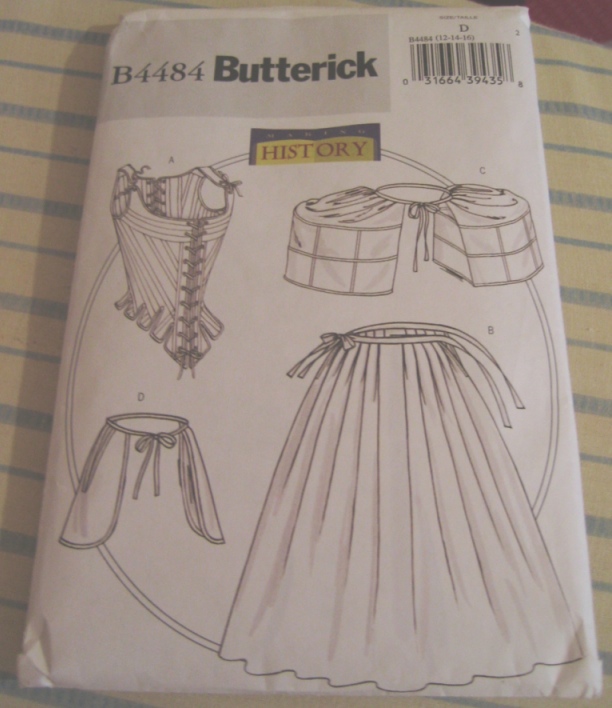
The pattern we chose is the historical Butterick Pattern #4484.
The pattern recommends using a Mediumweight Cotton, Linen or Broadcloth, so I used the same linen that we used for our Chemises. In hindsight, I wish I had used a thicker fabric. More about this later.
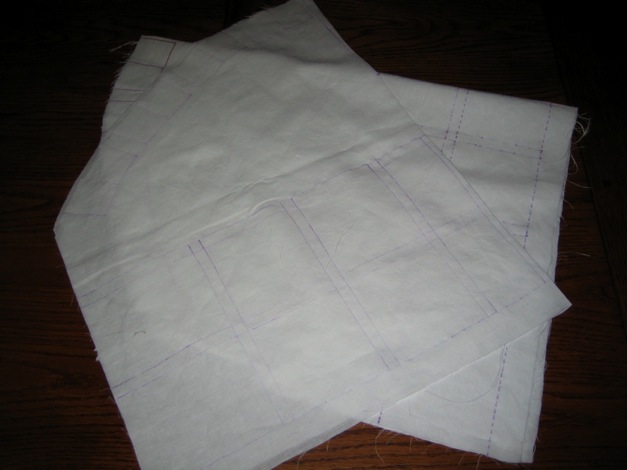
So, I just followed the instructions. Here's a photo of my "base" and "inner section" pieces after I drew in my boning channels and basted them together.
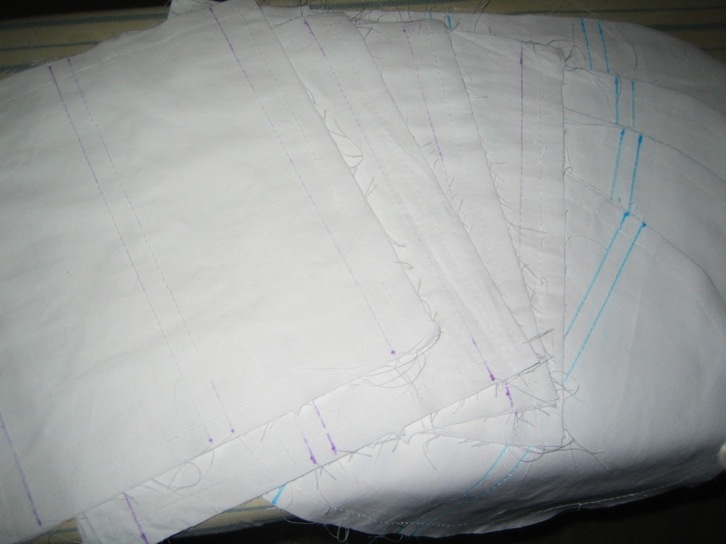
And here's a picture of the same pieces after I sewed in my boning channels and inserted the bonning.

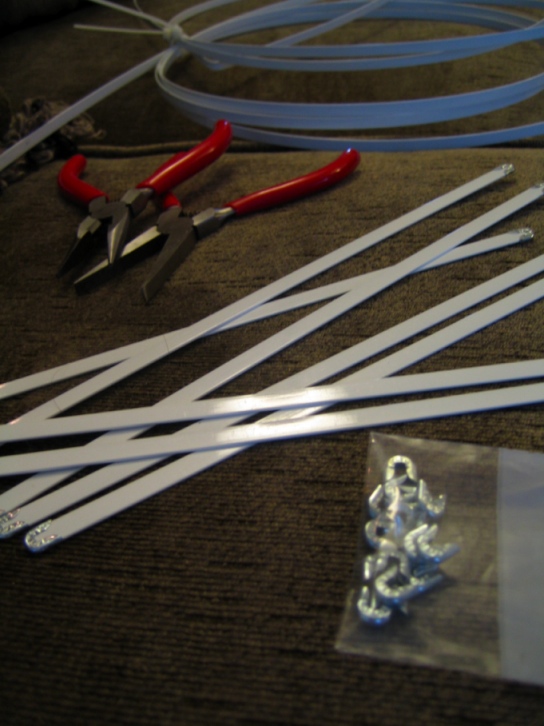
For the boning, I purchased 10 yards of 6mm Hoop Steel from Farthingales. Again, in hindsight, I wish I hadn't listened to the pattern and had purchased a bit more. More about this later.
This boning requires bolt cutters to cut and you'll want to purchase metal tips to put on the ends to cover the sharp edges.
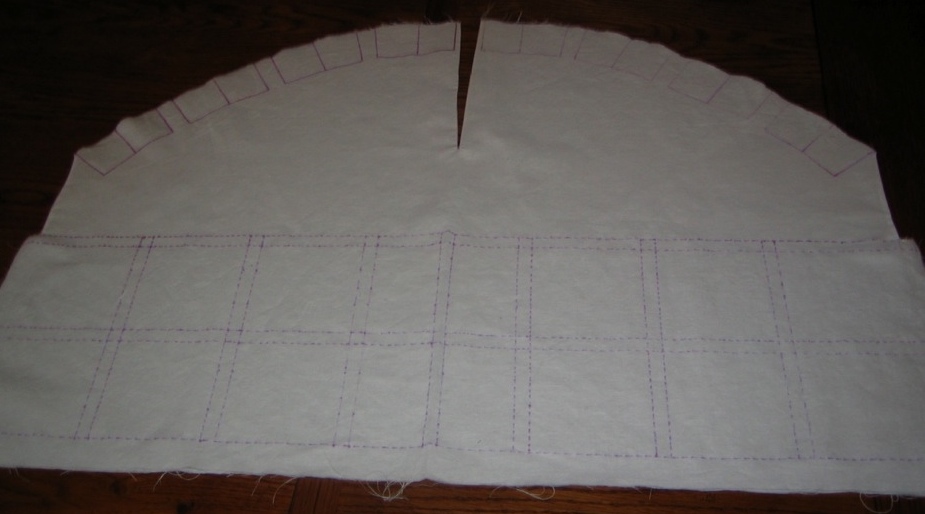
Next, I drew in the stitching lines on my "side section" using tracing paper. This was a bit more time consuming than I thought, but it made my gathering and channel sewing alot easier than if I had skipped this step.
Here's a picture of one of my "side sections" after I have made the hole for my pocket.
I continued on, following the instructions and here is a photo of my pocket hoop after I had made my pleats, sewn my channels, inserted the vertical boning pieces, and sewn on the "base" piece.
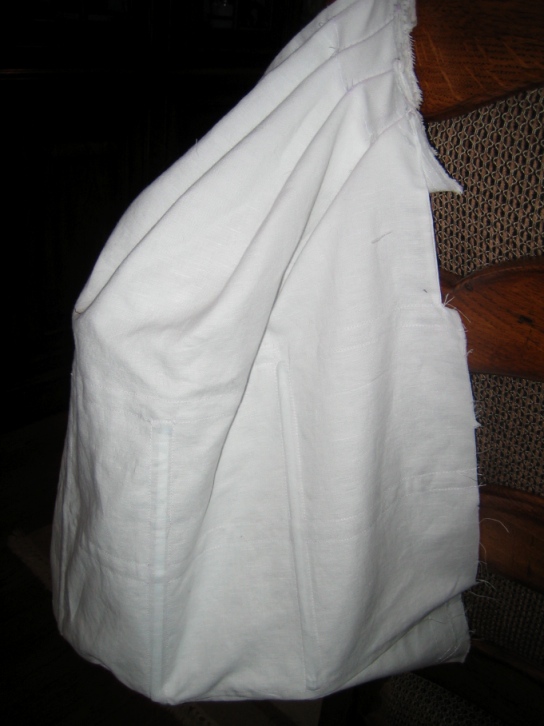
Note: It is at this point that I realized that I wasn't going to have enough boning to finish my hoops and I had to order an additional 3 yards of hoop steel. I'd recommend ordering 13 - 15 yards of hoop steel to make sure you have enough.
Additional Note: I did not double the boning in some channels as the instructions recommend, since I used steel boning and I am only assuming the "covered boning" mentioned in the pattern is the thin plastic boning that they sell at Joann's. My steel boning should be strong enough.
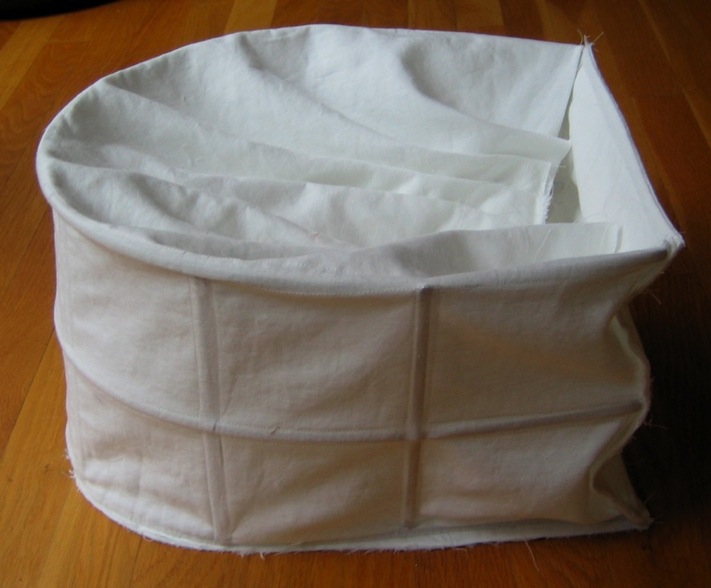
And here's my pocket hoop with the horizontal boning inserted and the "inner section" sewn in place. I'm now ready to flip my pocket hoops right-side out and add the waistband.
OK. That wasn't as easy as I thought it would be, but I was finally able to turn my hoops right-side out. I had to untack the opening edges of my pockets to open it up big enough, but was finally able to do it. It reminded me of the Loony Tunes Magic Shades I purchased for my last car...man, those things are a pain to put away..
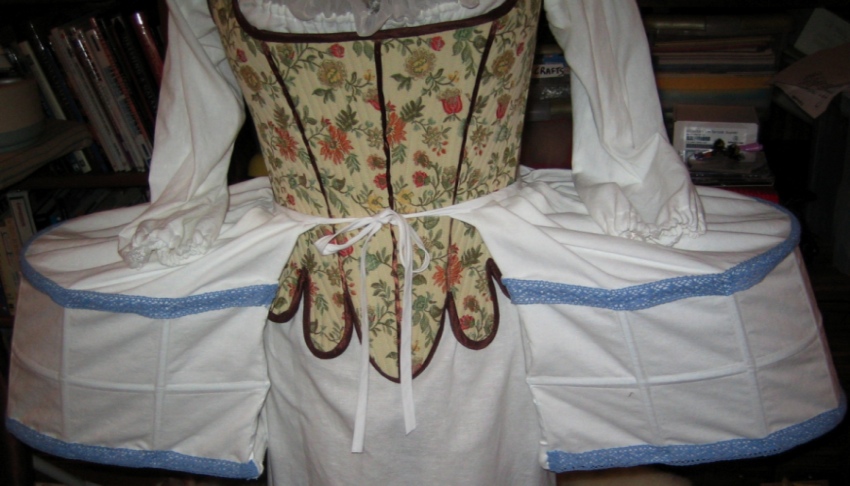
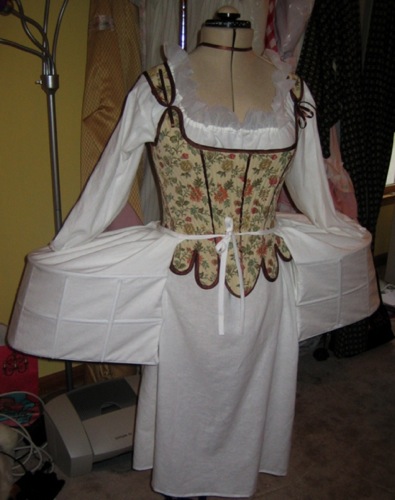
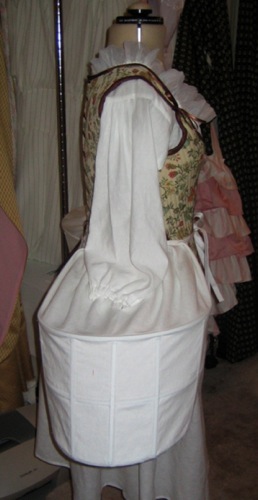
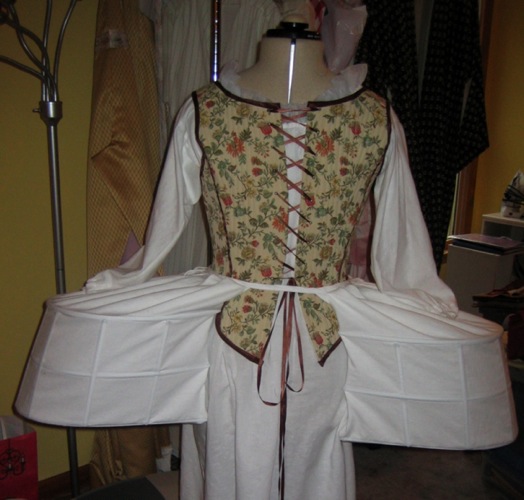
And here are pictures of my completed hoops on my dress form.
I did notice a flaw when looking at the finished pocket hoops. The linen fabric that I used is a bit thin and I can see that some of the steel boning is trying to break free.
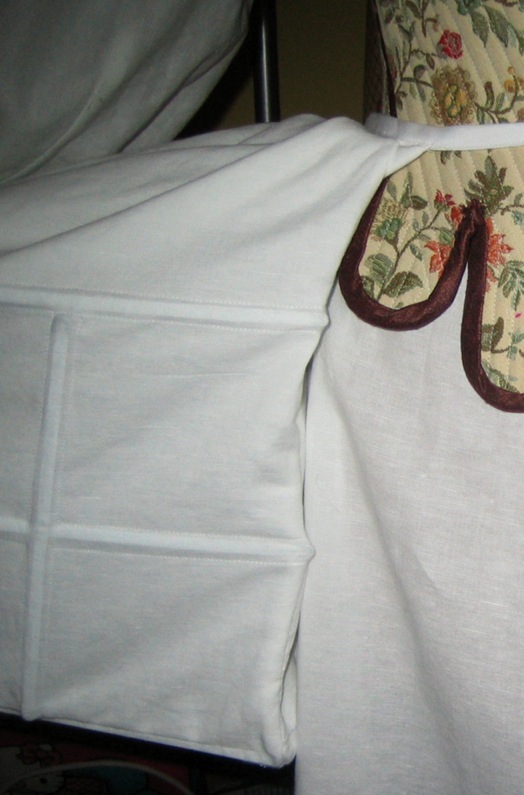
To improve the structural integrity of my pocket hoops I ended up adding some decorative pale blue lace around the seams to provide a little extra reinforcement.