First, I cut out the "sole" of the Feet out of Exercise foam mat. I cut out two per foot.
Next, I duct taped and hot glued the two layers together to form a thick "sole".
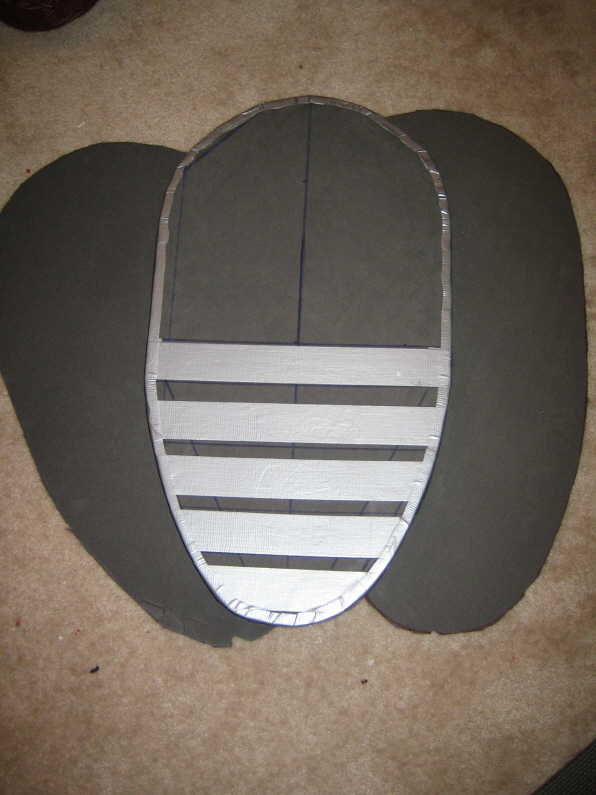
Next I hot glued and duct taped a cheap pair of tennis shoes to the "sole". Then a took two more pieces of Exercise Mat and tapped/glued them in the back of each "sole" to create a sturdy heel. And I could have sworn that I took a picture of that step, but I can't seem to find it...Ahhh well...
:-)
Next I created patterns for forming the shape of the foot. For the bottom pattern, I traced the "sole" of the foot onto a piece of packing paper.
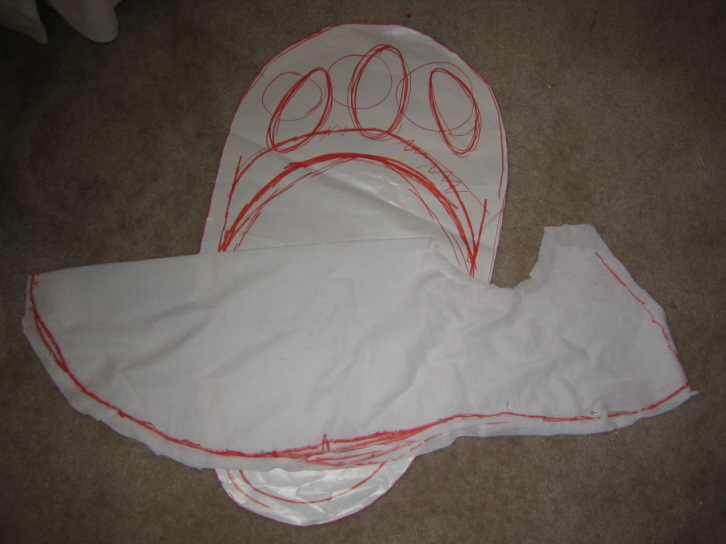
Creating the top pattern took the longest amount of time and I don't have a picture of the process. I took a piece of muslim and stuffed (Poly Fill) and pinned until I felt like I had the right shape. It was alot of "trial-and-error".
I traced the completed patterns onto muslim and sewed these together to create the forms for my Feet.
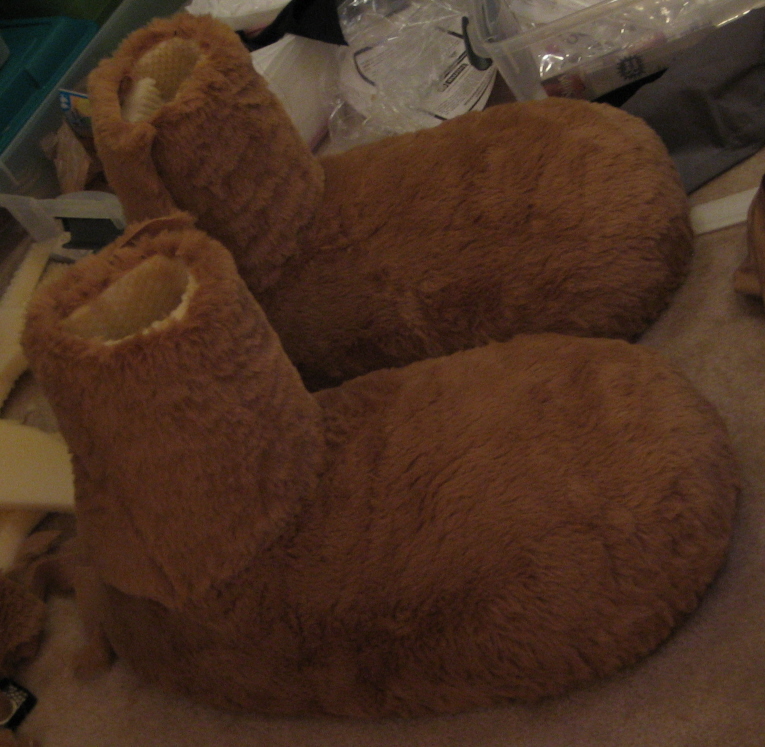
Here's the stuffed forms, ready to be covered in fur.

Mona was thoroughly impressed!
;-)

Next, I cut out the fur and hand sewed it over the stuffed form.
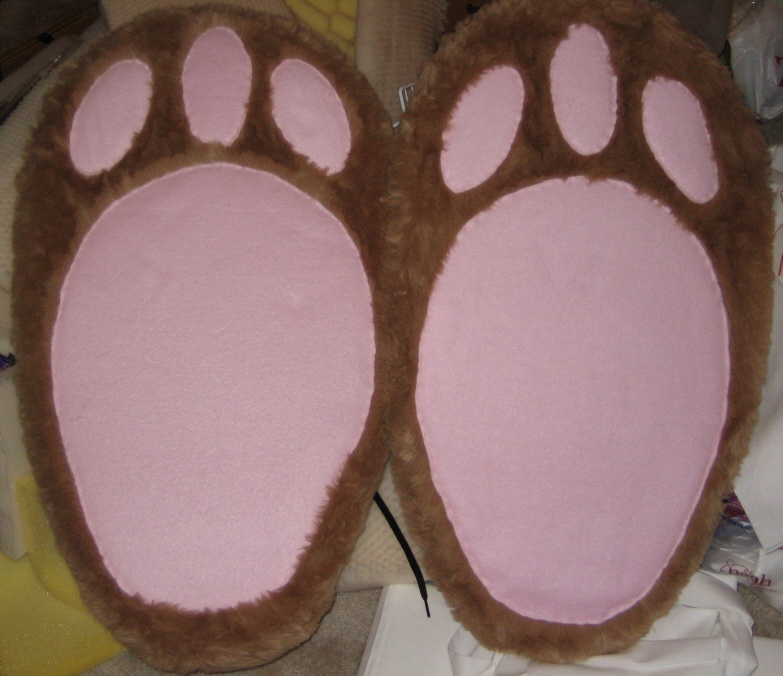
To finish things off, I sewed pink fleece onto the soles. I'm sure no one will ever see the bottom of my feet...but I thought it was too cute to resist...
;-)
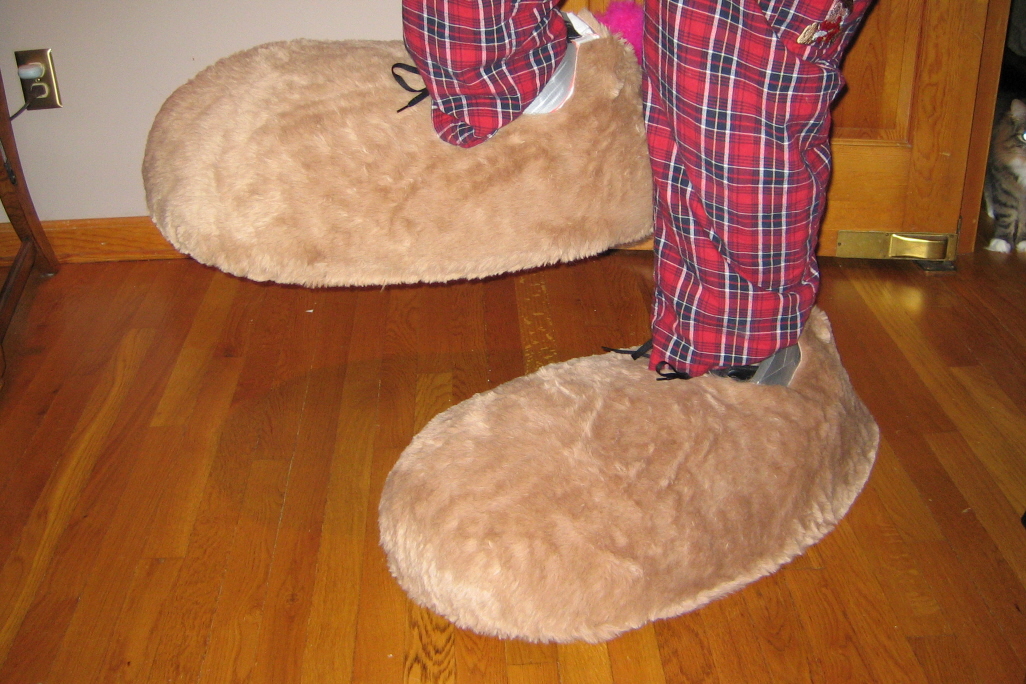
Here's the Rabbit foot compared to my husband's size 13!
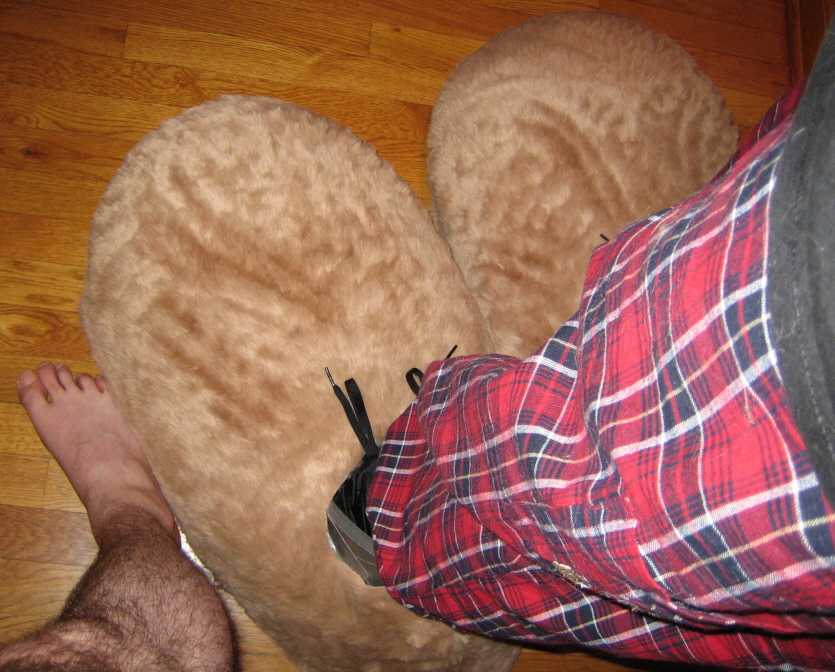
Note: When I walked around in my new feet, I discovered that they lacked any traction, so I'll probably be adding some kind of tread to the bottom.
Finished Feet!! After finishing the body, I realized I needed to extend the fur up above the ankles.