
The next step was to add the Hanches. I used a similar skeletal system to that which I used for the main body. I took more irrigation tubing and poked the ends through holes that I cut into the two layers of foam. I used alot of hot glue to glue them in place. I used two more strips of muslim to connect all of the tubes together.
Next, I took more foam and formed it over my skeletal haunches.
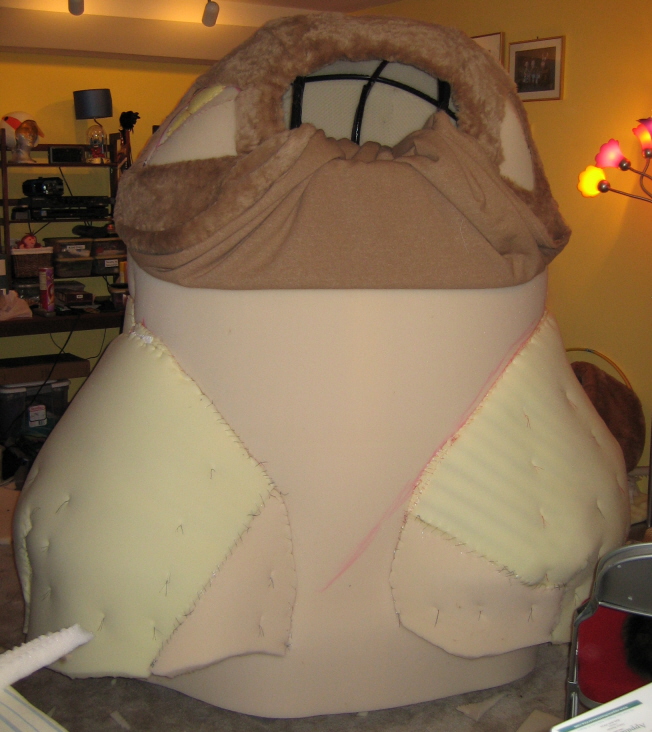
Scroll down to the "Making of the Arms" section to see the Rabbit Haunches covered in fur.
The next step was to make the Rabbit's arms. First, I took bed foam and measured the desired arm circumference and length from shoulder to elbow. I sewed part of it together to form the upper arms and sewed the top part to my body. I used a method of cutting, pinning, and repositioning to get the shoulders just right.
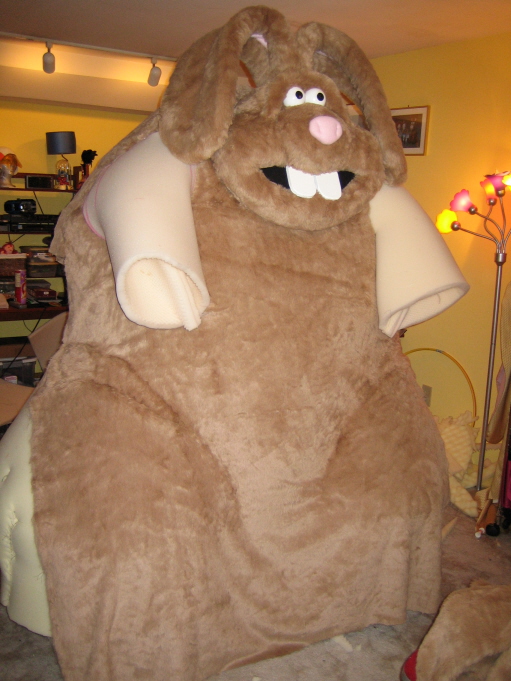
Next, I cut out and attached the lower arms. I cut them at an angle so as to form the elbows. I then covered each entire arm in fur. I purchased forearm crutches to go into each arm so that I could manipulate them.
Next, I made and attached the hands.
Sadly, I was pressed for time and didn't take any pictures of my progress. In a nutshell, here's what I did:
First, I cut hand shapes out of bed foam. Two per hand.
Next I sewed these shapes together, leaving the wrists open.
I then opened each hand and filled them with poly fill and small leftover pieces of foam.
I then cut out a circular piece of foam to place in the hand to keep all of the foam bits in place.
I cut a hole in the center of the foam so that I could put my crutches through to the middle finger.
And lastly I covered the hands in fur and attached them to the arms.
The tail was pretty easy. First, I measured my Rabbit model's tail and scaled it up. If you think of it as a 1/2 sphere, I measured both diameter and the 1/2 circumference.
I then cut out a circle of white fur using the 1/2 circumference as my diameter.
Next, I sewed a basting stitch around the outside circle and cinched it in until it formed a 1/2 sphere with the correct diameter.
After stuffing it with poly fill, I sewed it onto the Rabbit's body.
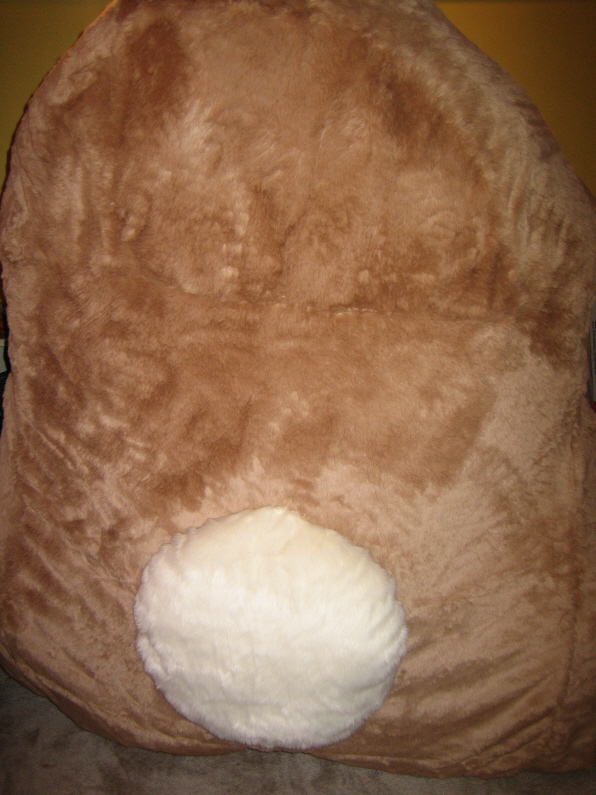
To finish the bottom of the body, I hemmed the bottom edge of fur and ran a nylon rope through it. I cinched the rope to close up the bottom of the costume and to help form the haunches. After a trial run, I noticed that I had some "saggy butt" issues, so went back and took out some extra fur and foam to smooth things out
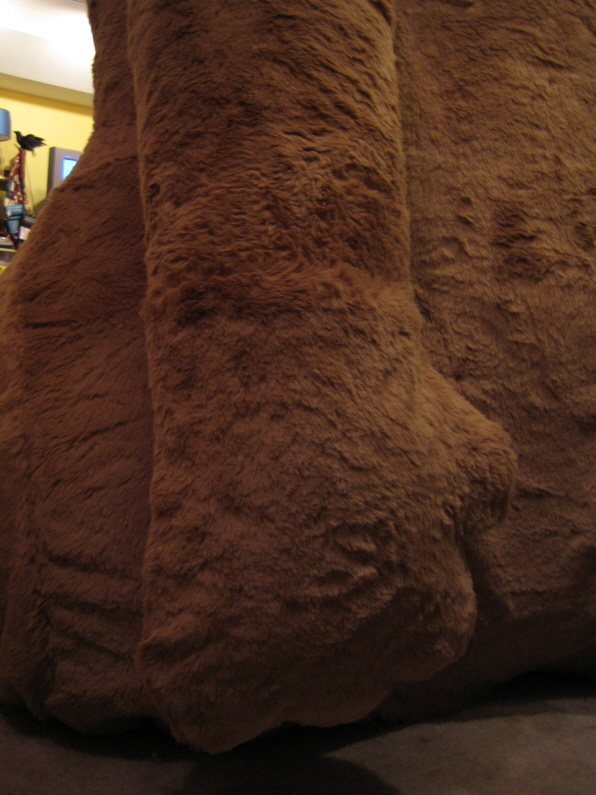
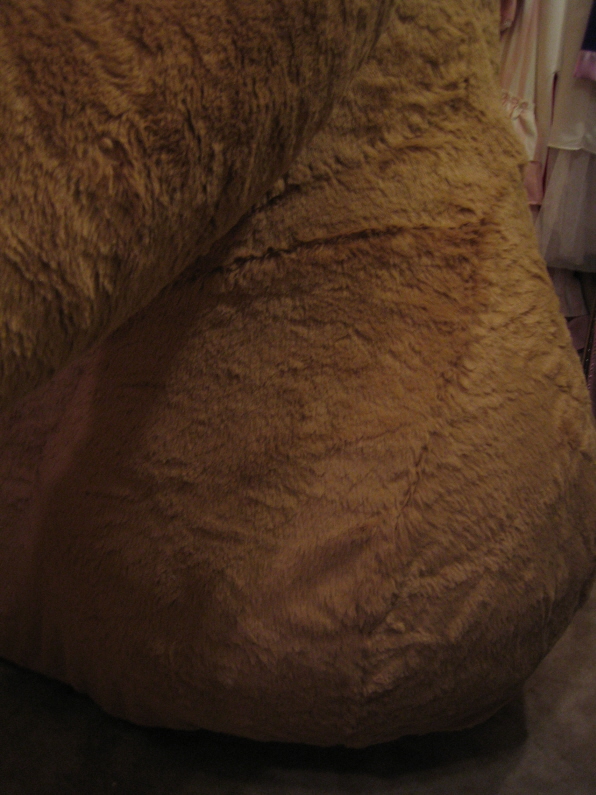
Here's a side view of a finished haunch.
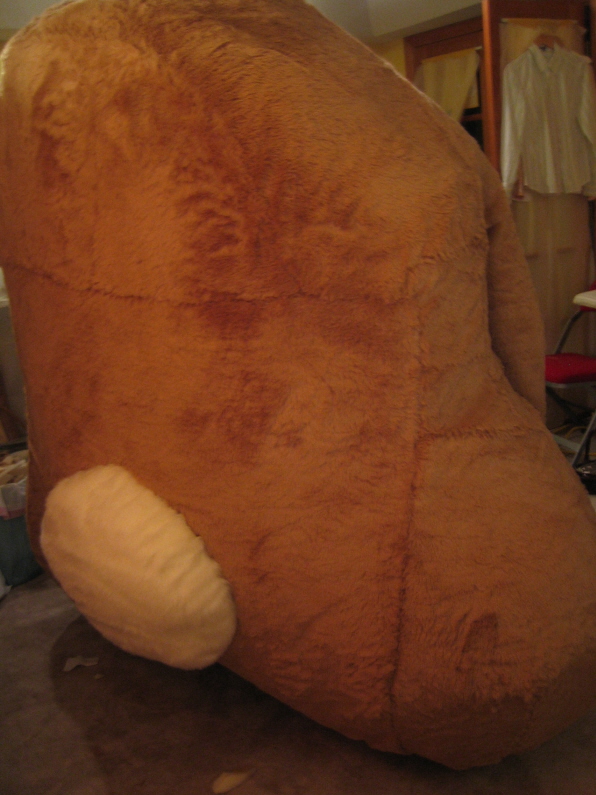
Here's the fixed butt.
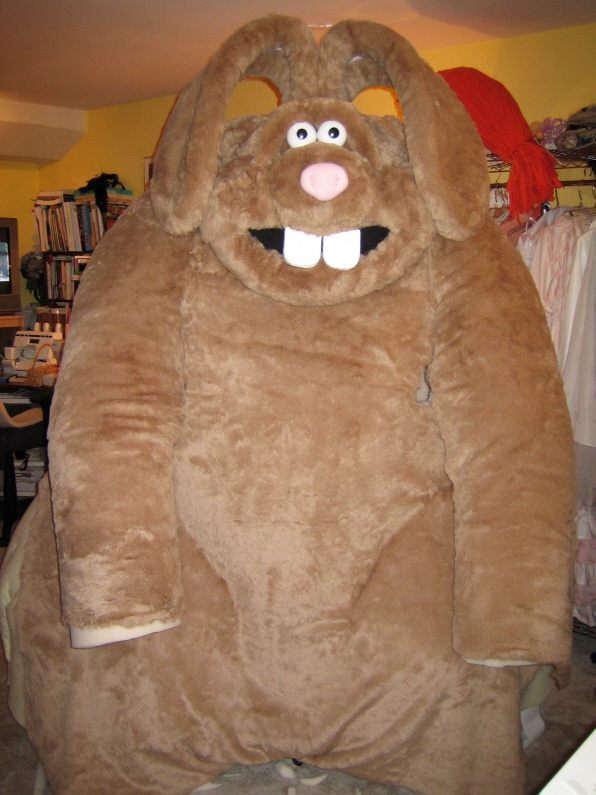
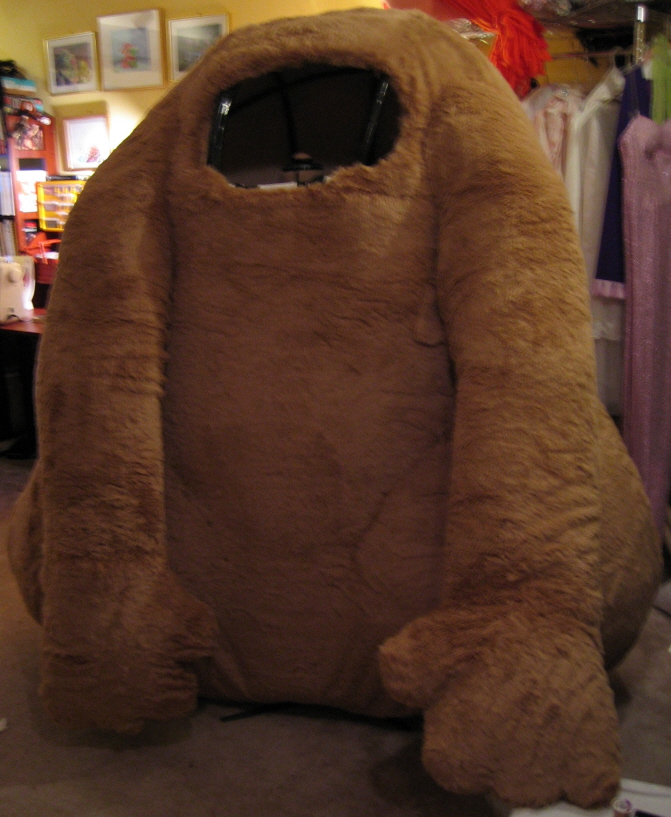
And here is the finished front. Ready to take to DragonCon!!
Note: The Were-Rabbit does actuall fit in my Prius. Sadly, it requires ALOT of squishing and shoving and takes up every possible space. Thanks again, Tony, for the use of your SUV!!
Back to Body Page 1 Were-Rabbit Home